
Get paymaster kit right
Start The Paymaster Kit with the constraint that matters most in real life: space, timing, budget, skill level, maintenance, or availability. That first constraint should shape the rest of the plan instead of appearing as an afterthought. Keep the first pass simple enough to verify. Compare the main options against the same criteria, remove choices that only work in ideal conditions, and save optional upgrades for later.
The simplest way to use this section is to write down the real constraint first, compare each option against it, and choose the path that still works outside ideal conditions.
Work through the steps
The Paymaster Kit works best as a clear sequence: define the constraint, compare the realistic options, test the tradeoff, and choose the path with the fewest hidden costs. That order keeps the advice usable instead of decorative. After each step, pause long enough to check whether the recommendation still fits the reader's actual situation. If it depends on perfect timing, unusual access, or a best-case budget, include a simpler fallback.

Fix common mistakes
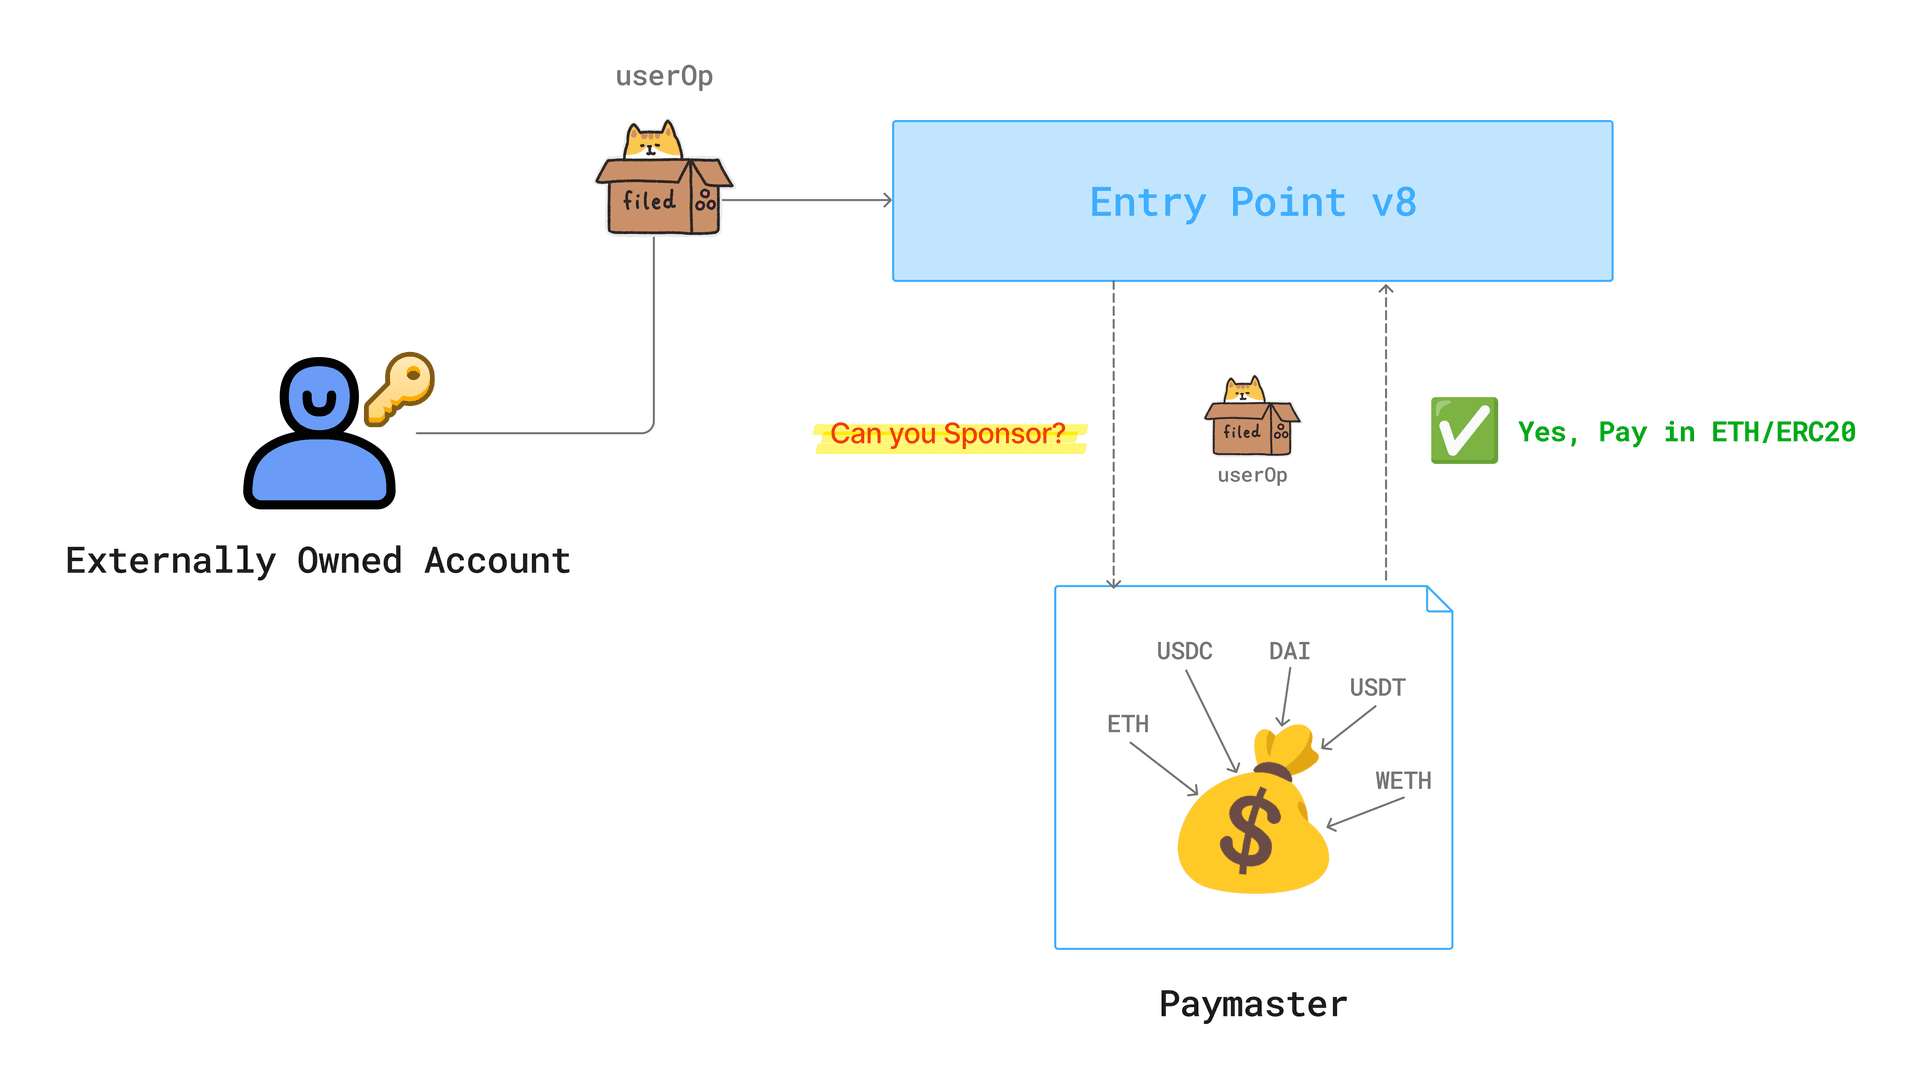
Even with a robust Kit, configuration errors can leave users stranded with unpaid gas fees or cause contracts to revert unexpectedly. These mistakes usually stem from misaligned signatures, incorrect validation logic, or ignoring edge cases in the user flow.
1. Mismatched ERC-20 token addresses
A frequent error occurs when the Paymaster is configured to accept a specific ERC-20 token, but the user’s wallet holds a different version or a wrapped variant. If the smart contract expects USDC but the user approves USDC.e, the validation logic will fail because the token addresses do not match exactly.
Always verify the exact contract address of the accepted token against the user’s approved allowance. Use block explorers to confirm the token’s checksummed address before hardcoding it into your Paymaster configuration.
2. Invalid or expired signature validation
Paymasters often require a signature to authorize the gas payment. A common mistake is failing to validate the signature’s expiration time or using an incorrect domain separator. If the signature is valid but expired, or if it was signed for a different chain ID, the transaction will be rejected by the bundler.
Ensure your validation logic checks both the signature’s cryptographic validity and its temporal constraints. Always include the chain ID in the signed data to prevent replay attacks across different networks.
3. Ignoring user allowance limits
Users may approve a Paymaster to spend their tokens, but fail to set a sufficient allowance for the estimated gas cost. If the user’s approved limit is lower than the actual gas fee required for the transaction, the Paymaster cannot cover the difference, and the transaction will revert.
Implement a pre-transaction check that estimates the gas cost and compares it against the user’s current allowance. If the allowance is insufficient, prompt the user to increase it before attempting the transaction.
Paymaster kit: what to check next
Before deploying your automation, it helps to clear up the confusion between blockchain paymasters and legacy financial instruments. The term "paymaster" spans two very different industries, and mixing them up can lead to costly integration errors.
Helpful gear
Use these product recommendations as a starting point, then choose the size, material, and price point that fit how you actually use the gear.

As an Amazon Associate, we may earn from qualifying purchases.
No comments yet. Be the first to share your thoughts!